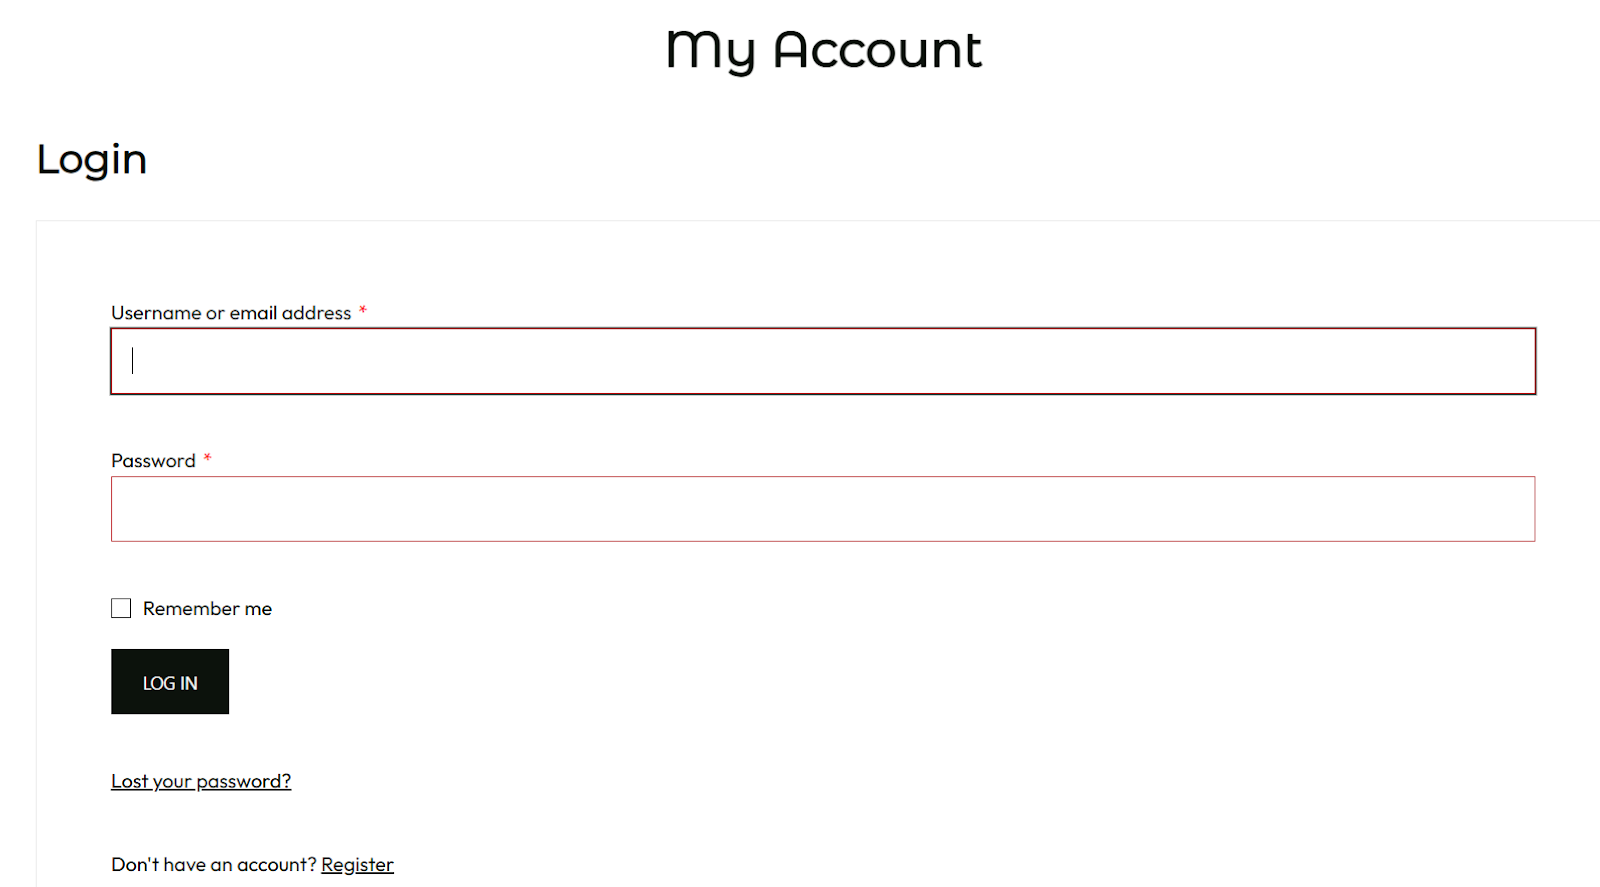
When you log in, you will be taken to the vendor dashboard.
You will see a summary of your sales. What amount did you make from sales that month, how much was deducted by Biggie Wears, and what is the number of orders made?
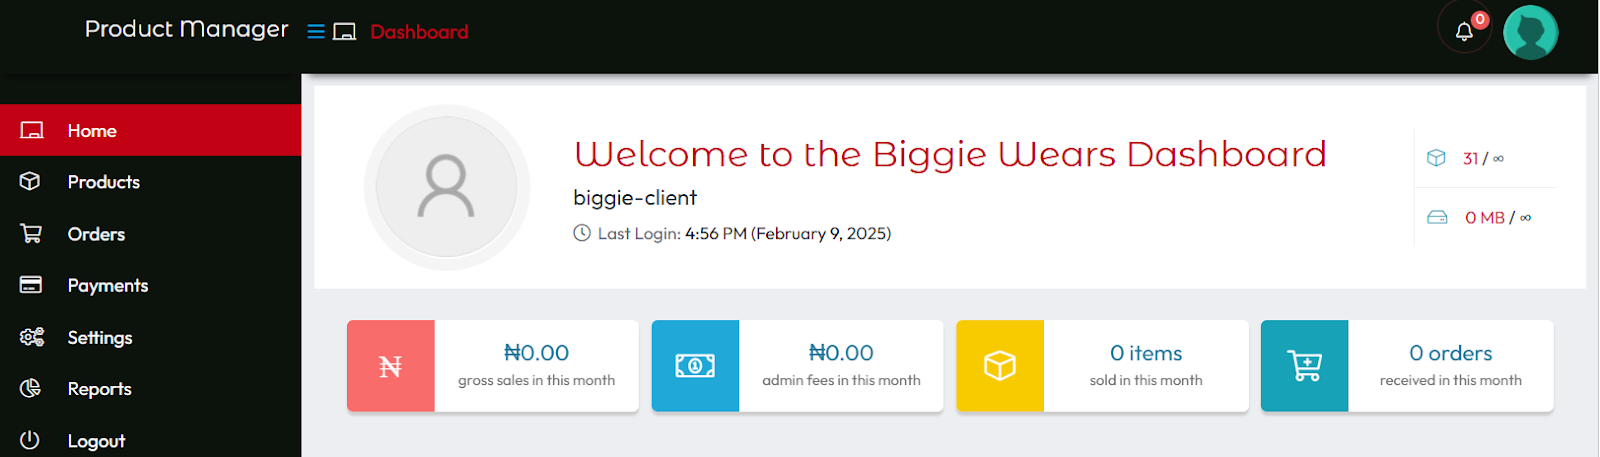
Other than statistics, you will see notifications for you, including new orders, pending payments, etc.
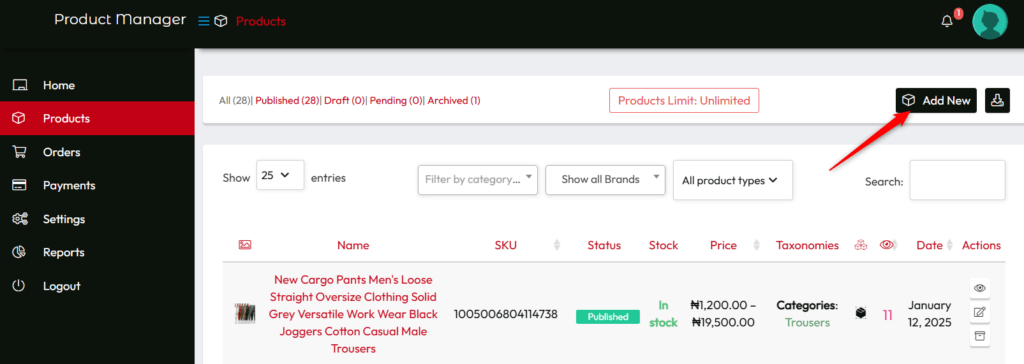
To add a product, click on Products from the left menu.
Click on the Add New Product or Cube icon (if using a mobile device).
In Biggie Wears, you can upload three types of products.
- Simple Product – A simple product is a standalone product with a particular price and measurement. It also has a single SKU (stock-keeping unit). In fashion, it will be a product with one color and size. For example, a red floral dress with size 12.
- Variable Product – A variable product is a product with different prices and measurements. Each variation has its own attributes, including price, color, material, SKU, etc. In fashion, it will be a product with different colors, sizes, and materials, where each combination is a different variation. For example, a floral dress with red, green, yellow, pink, and white colors, and sizes S, M, L, XL, and XXL.
- Grouped Product – A grouped product is a collection of simple compatible products packaged and sold together. In fashion, this can be a package containing a pair of sneakers, a T-shirt, and a pair of trousers. Or a package containing a dress, handbag, and heels for ladies. Buyers can buy the collection or select products from the collection to buy at once.
How to Add a Simple Product
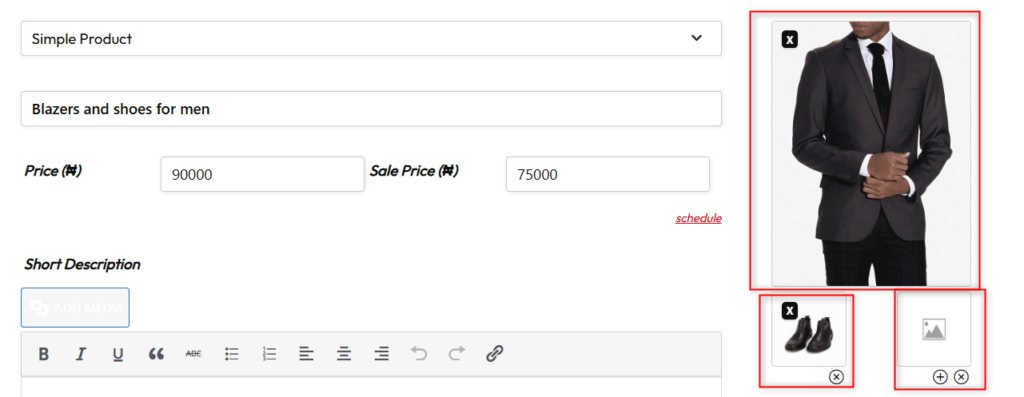
Select Simple Product from the dropdown.
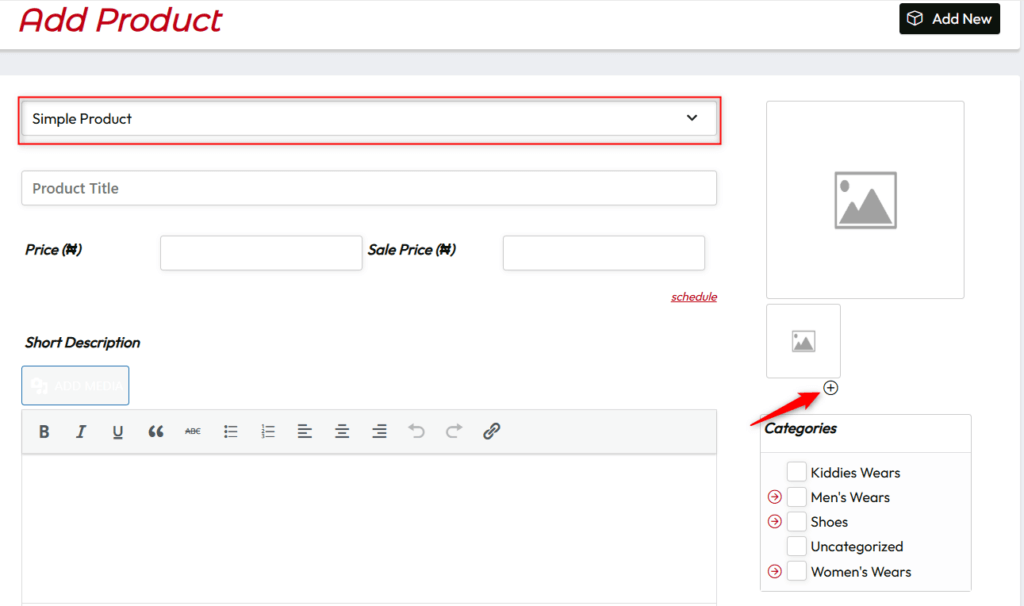
Enter the Product Title. E.g., Embellished lace gown for owambe.
For Price (₦), enter the original price of the product.
For Sale Price (₦) , you can put the discounted price here if you offer a discount. Otherwise, leave this blank. The Sale price is optional, but as part of a marketing strategy, you should include a regular and discount price at your discretion.
Next is the schedule. This is also optional. This is best for products still in production or seasonal products. You can select the date range for which the product will be available.
Next is the Short Description. This is where you write a brief description of your product. You want it to be catchy or compelling.
You can use the text formatting, including bold (B), italics (I), quotes, etc in your description.
The ideal length for short product descriptions is 150-160 characters. This is good for SEO.
Next is the Description field. This is the field where you can write your full description. Here, you can go all out. The sky’s the limit. You want to consider this as your sales page. You can enlist the features and benefits of your product or the story behind the design. You can also use text formatting and include non-product images such as behind-the-scenes of your design process, measuring guide, etc. Whatever will help you make the sale.
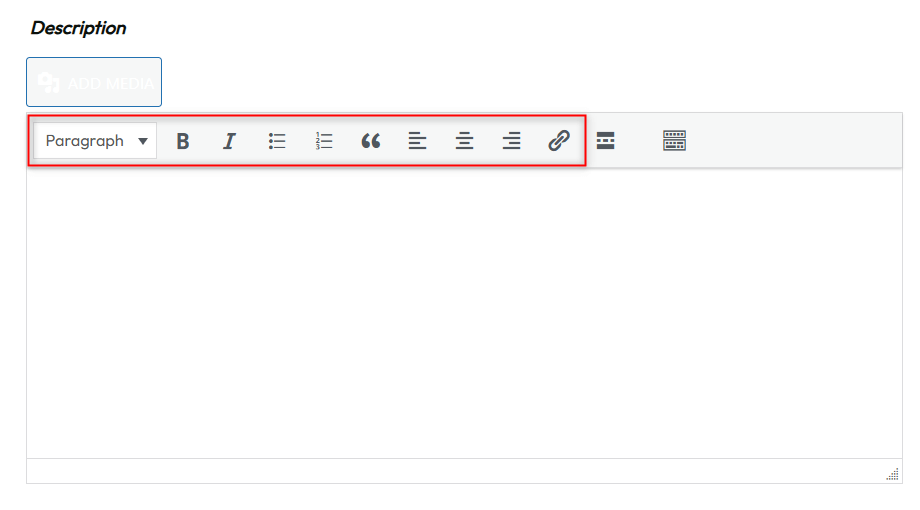
Next, you have to add your product images. Click on the blank photos to open up the uploader to upload your photos. Click on the plus icon to add more photos.
Then tick the main categories under which the product falls. E.g., Men’s Wears.
You should also include sub-categories. Click on the arrow icons next to the main categories to show sub-categories and select the appropriate ones.

Then, choose one or more tags for your product. You can ignore it if none applies.

Now other sections require your attention before you can submit your product.

They include:
- Inventory
- Shipping
- Attributes
- Linked
Managing Inventory
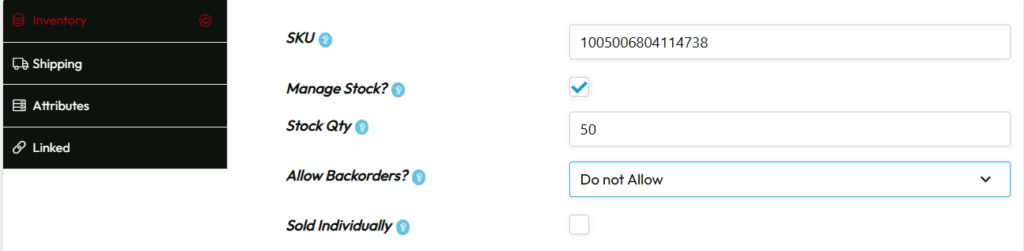
SKU — The first field is SKU (stock-keeping unit). This is a unique code or digits that you can assign to your product to identify it anywhere in the store. This is actually optional. So you can leave it blank.
Manage Stock? — This option is for products with a certain quantity in stock. E g. 50 pairs of shoes are available in your store for sale. When checked, you can set the amount of the product available for sale.
Allow Backorders — If stock management is enabled, you can choose to allow backorders or not. Backorders mean users can still place orders when stocks are below zero. The options include:
- Allow
- Allow, but notify customer
- Do not allow
Sold Individually — This option means a buyer can only order one of the product at once. If not enabled, a buyer can increase the quantity he/she wishes to buy. E.g., three medium-sized T-shirts. The final price will be the assigned price multiplied by the amount in the order.
Shipping

This is also an optional section. You can choose to add the weight of the product and dimension. There’s currently no shipping class, as all products are delivered for free to buyers.
You may not want to skip the Processing Time field as it lets you inform buyers how long it will take before sending their product. This is especially helpful for wear you start designing after placing the order.
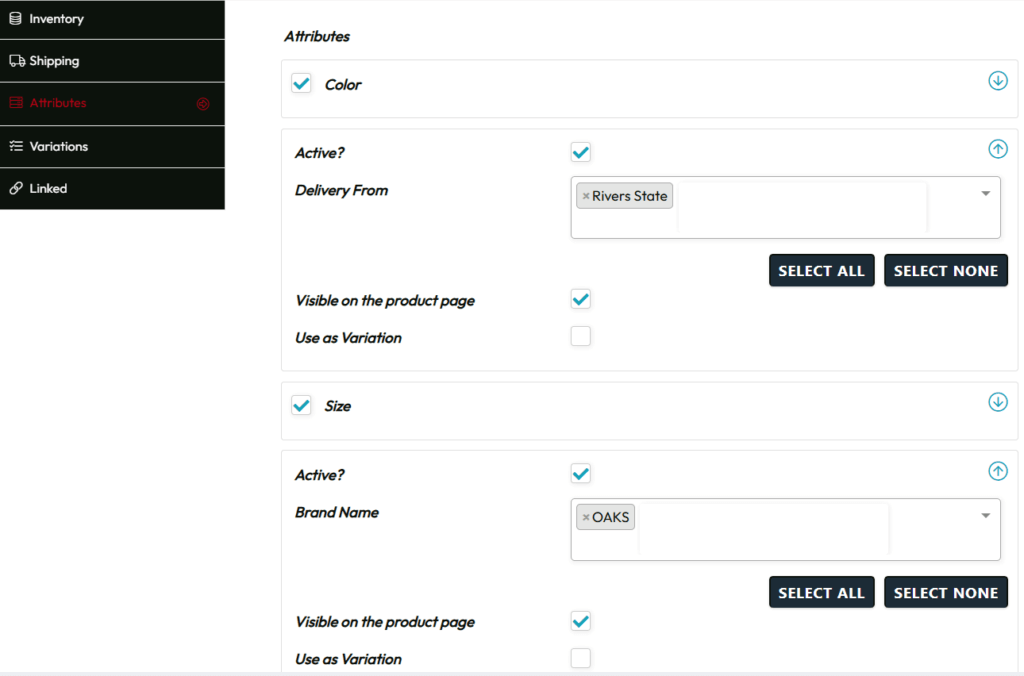
Attributes
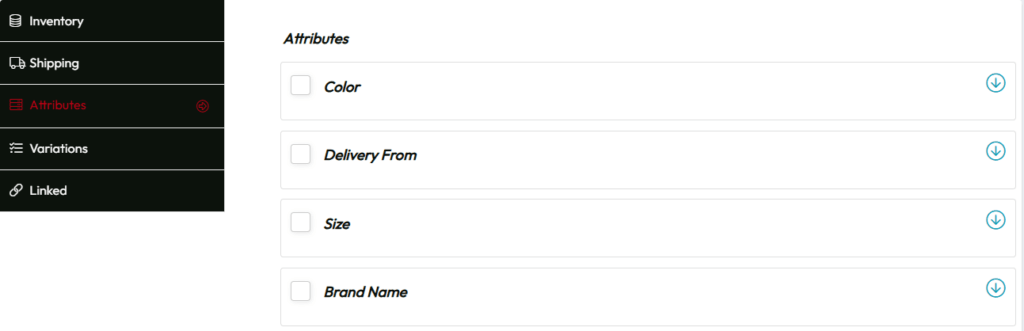
Attributes allow you to include micro-information such as product color and size, your brand name, and delivery from (the state where your brand is based or the product is coming from).
For each attribute you activate, you will equally have the option to show or hide the attribute when the product is viewed by a customer.
Please only select the right attributes that apply to avoid confusion.
Linked
This section allows you to find other similar products for cross-selling and up-selling.
Up-sells — These are similar products but of superior quality, price tags, and better profit margins. They will be recommended as a better alternative when customers view the current product.
Cross-sells — These are products you wish the customer would buy alongside the current item. E.g., recommending a white Chanel bag for a white dinner gown.
When you are done, you can save the product as a draft or submit it for the Biggie Wears technical team to review and publish.
How to Add a Variable Product
To add a variable product instead, navigate to Products > Add New Product.
Select Variable Product from the drop-down.
When creating a variable product, you must enter the following product information.
- Product Title
- Short Description
- Long Description
- Photos
- Categories
- Tags
Going to the tabbed section, you will find the following tabs:
- Inventory
- Shipping
- Attributes
- Variation
- Linked
Inventory
Click here for how to set up inventory.
Shipping
Click here for how to set up shipping.
Attributes
Click here for how to set up attributes.
Variation
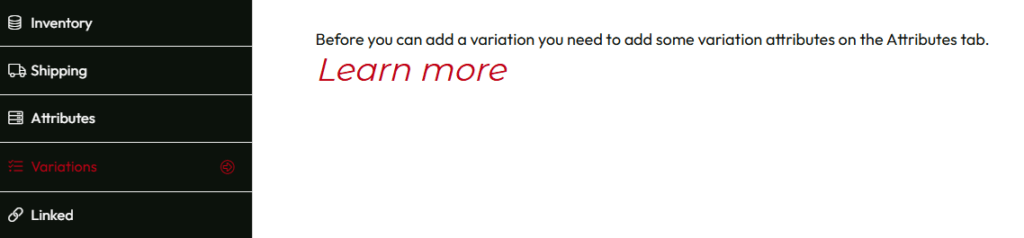
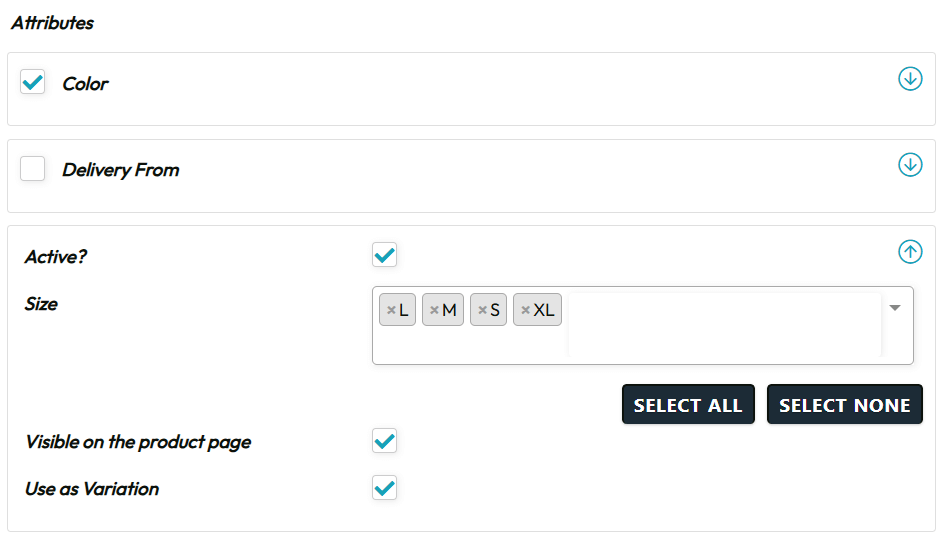
To add variable products, you must first select some attributes and mark the ones to be used as variation, e.g., size and color. The system will use the marked attributes to generate a combination of variations.
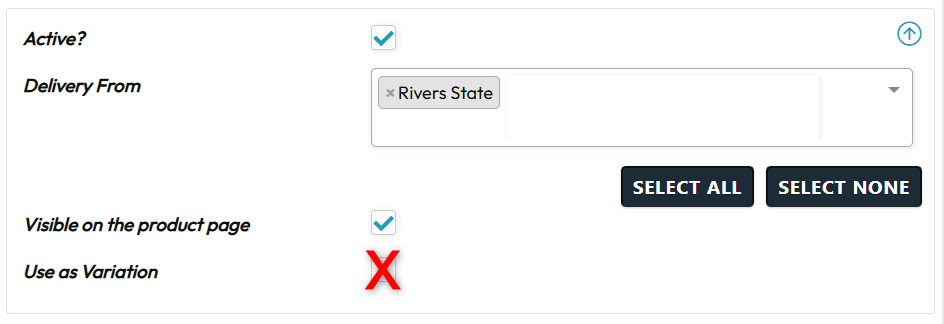
Please DO NOT use the Delivery from and Brand name attributes as variations.
Return to the variation tab. When selected, you will see various variation options.
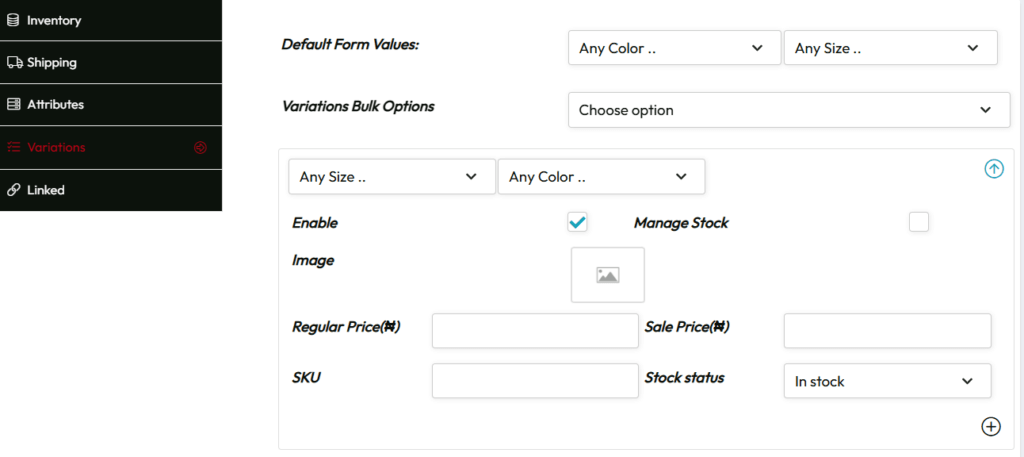
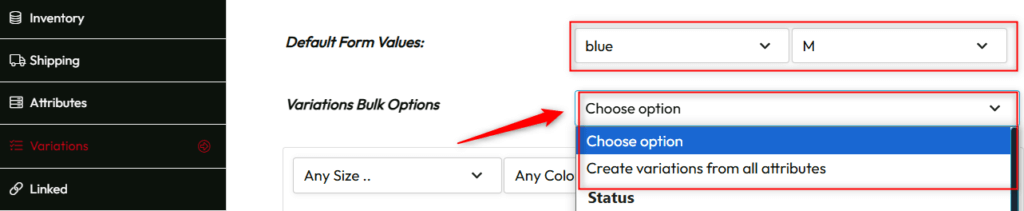
- Default Form Values – This option allows you to select a color or size by default.
- Variation Bulk Option – This feature allows you to create and manage variation products in bulk.
The system can automatically help you generate a combination of variations based on the selected attributes. Select the Create variation from all attributes option, and the system will automatically generate various possible combinations or variations.
It can create up to 50 combinations at once. You can repeat the tool to create more combinations until the possible outcomes are exhausted.
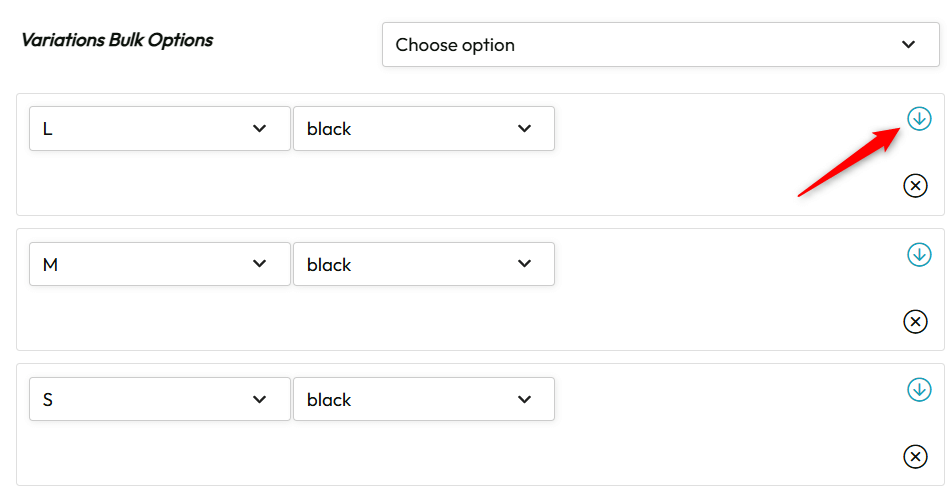
When you are done, simply click on the down-pointed arrow icon next to each variation to assign its own price, photo, SKU, stock quantity, and backorders.
You can also use the bulk variation option to add and manage prices, inventory, and shipping across all the variations. The values will be uniformly applied, so you may want to adjust them manually.
Alternatively, you can create your variable products manually from scratch.
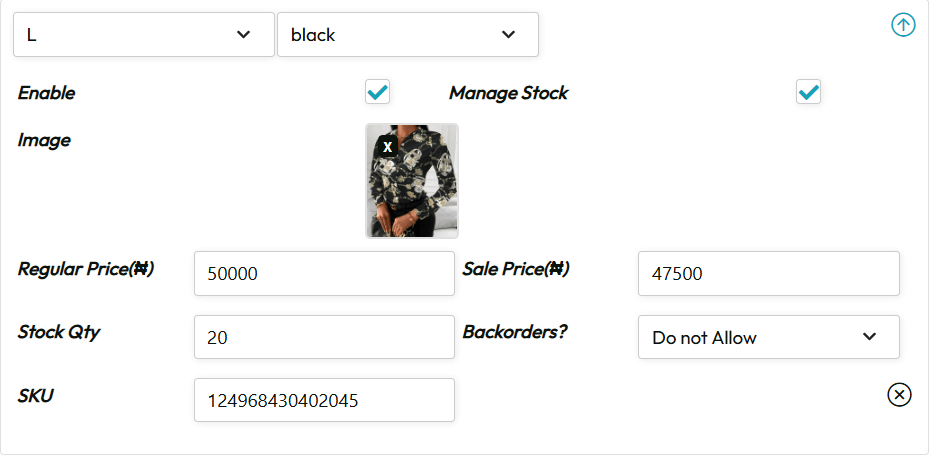
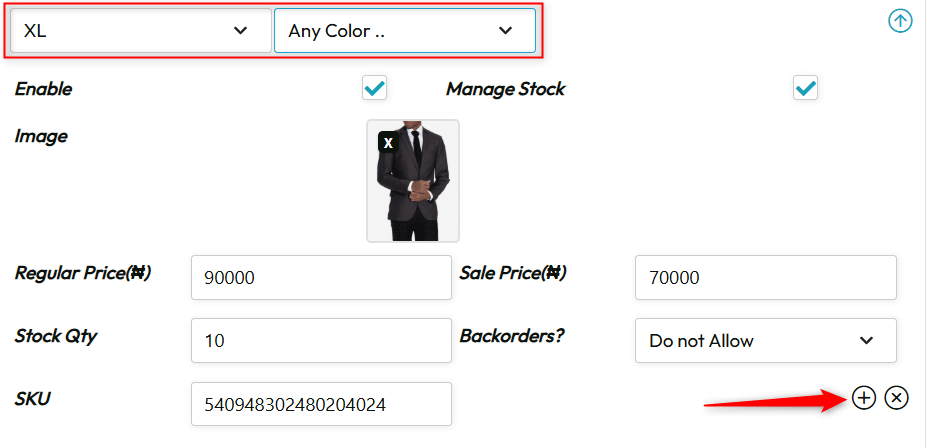
You start by selecting a size and color.
Check Manage Stock if you want to enter a certain quantity of products available in that color and size.
Customers won’t be able to order that variation when out of stock unless you edit the product, update the stock quantity, or enable backorders.
Then you can enter the regular price and a sale (discount price).
You can also enable backorders and assign an SKU to each variation.
When you are done, click on the plus icon and repeat for other combinations until you exhaust all possible combinations.
Linked
Click here to learn how to set up linked products for up-sells and cross-sells.
When you are done, click the Submit for Review button and wait for the Biggie Wears technical team to approve it.
How to Add Grouped Product
To add a variable product instead, navigate to Products > Add New Product.
Select Grouped Product from the drop-down.
When creating a grouped product, you must enter the following product information.
- Product Title
- Short Description
- Long Description
- Photos
- Categories
- Tags
Going to the tabbed section, you will find the following tabs:
- Inventory
- Grouped Product
- Attributes
- Linked
Inventory
You can only assign SKU and stock status to grouped products. You can’t assign stock quantity or pricing to a group product. This is because it is simply a collection of existing standalone or separate products sold together as a package.

Grouped Product
In the grouped product section, you can search for existing products you want to include in the collection. You can only add products already live on the site and created by you.

Attributes
Click here to learn how to set up attributes for grouped products.
Linked
Click here to learn how to set up linked products for up-sells and cross-sells.
When you are done, click the Submit for Review button and wait for the Biggie Wears technical team to approve it.